Photo credit: Google
We all have them: boxes tucked away in the attic, albums gathering dust on shelves, filled with photos that capture moments frozen in time. These snapshots of our past – faded Polaroids, vintage black-and-whites, dog-eared family portraits – hold precious memories. But time takes its toll on physical photos. Colors fade, edges fray, and those irreplaceable images become increasingly fragile.
The good news? You can safeguard these memories by learning how to digitize old photos and bring them into the digital age. Digitizing your photos not only preserves them but also makes them easier to share, enjoy, and pass down to future generations.
In this guide, we’ll walk you through the process of digitizing your old photos, offering various methods to suit your needs and budget.
Digitize Old Photos: A Range of Options
When it comes to digitizing your old photos, you have several options, each with its own pros and cons. Let’s explore the most common methods:
- Using a Flatbed Scanner: This is a classic approach, offering good quality and control.
- Smartphone Apps: Quick and convenient for a few photos.
- Photo Scanning Services: Professional services for high volume or delicate photos.
- All-in-One Printers: Many modern printers have built-in scanners.
Using a Flatbed Scanner
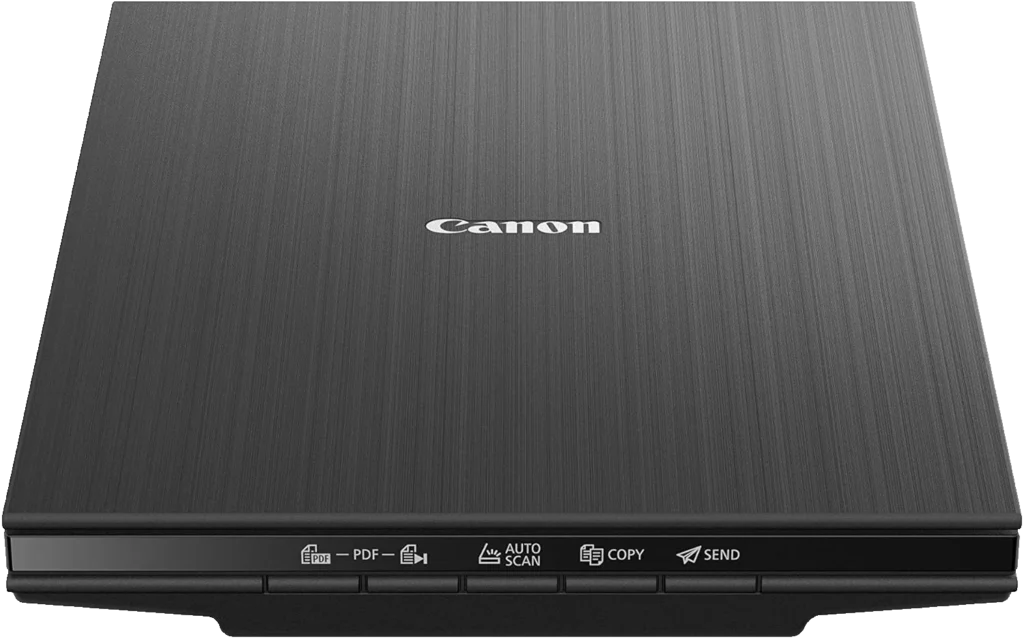
Photo credit: Amazon (Canon CanoScan LiDE400)
The trusty flatbed scanner remains a popular choice for digitizing photos. It’s like a mini photocopier that captures a digital image of your picture. Here’s why it’s a good option:
- High Resolution: Flatbed scanners can capture images at high resolutions, preserving details and allowing you to enlarge photos without significant loss of quality.
- Control: You have control over settings like resolution, color balance, and exposure, giving you the flexibility to fine-tune the digitization process.
- Versatility: Besides photos, flatbed scanners can digitize other documents and even small objects.
Here’s a simple guide to scanning your photos:
- Clean your scanner: Dust and smudges can affect the scan quality. Use a microfiber cloth to gently clean the scanner bed.
- Prepare your photos: Wipe down your photos with a soft cloth to remove any dust or debris.
- Position your photo: Place the photo face down on the scanner glass, ensuring it’s aligned with the corners or guides.
- Start the scan: Close the scanner lid and launch the scanning software on your computer.
- Adjust settings: Choose the desired resolution (at least 300 dpi for photos) and color mode (color or grayscale).
- Preview and scan: Preview the scan to check for any issues, then initiate the scan.
- Save and edit: Save the scanned image in a suitable format (JPEG or TIFF). You can then use photo editing software to enhance the image further.
Things to consider:
- Cost: Flatbed scanners range in price from budget-friendly to high-end professional models.
- Time: Scanning individual photos can be time-consuming, especially for large collections.
- Software: Familiarize yourself with the scanner software to optimize your scans.
Smartphone Apps: Digitization in Your Pocket
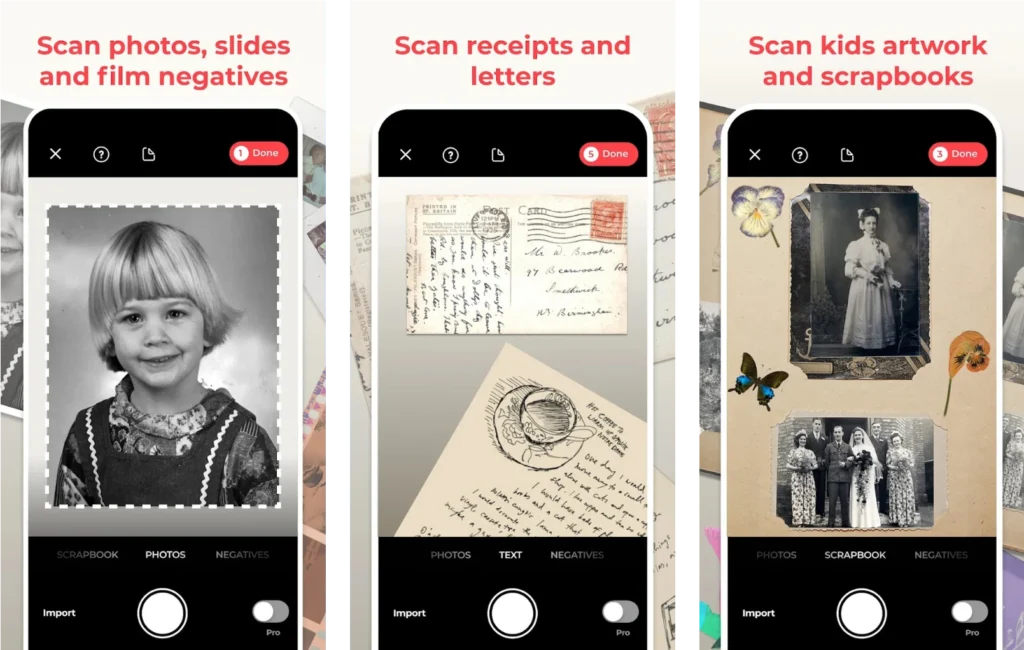
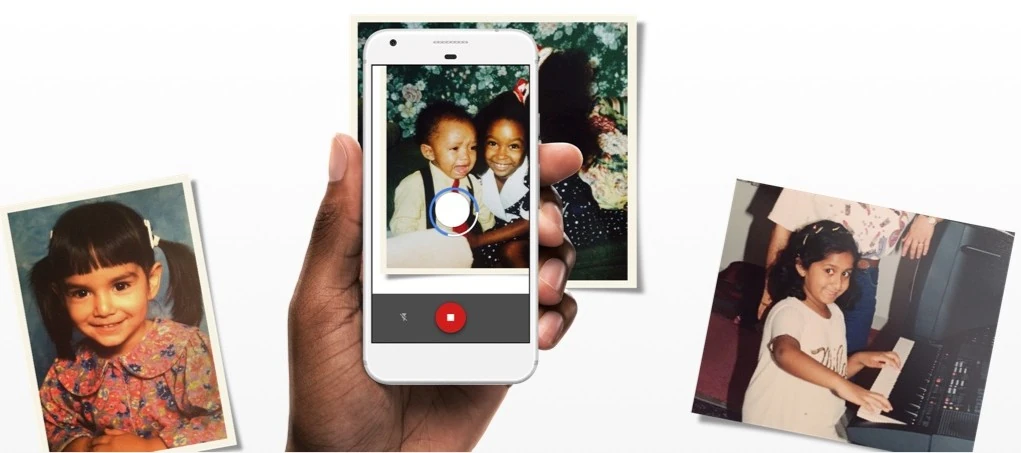
For those who want a quick and easy way to digitize old photos, smartphone apps offer a portable and surprisingly effective solution. No need for bulky scanners – just your trusty phone and a few taps!
Why choose a photo-scanning app?
- Convenience: Your phone is always with you, making it easy to digitize photos on the go.
- Speed: Many apps offer features like auto-cropping and perspective correction, speeding up the process.
- Sharing: Easily share your digitized photos with friends and family via social media or email.
Recommended Apps
For Quick and Easy Scanning:
- Google PhotoScan: (Free) Excellent image quality, glare reduction, and automatic edge detection. A great all-around option.
- Microsoft Lens: (Free) Versatile app for scanning documents and photos, with features like text recognition (OCR) and cloud integration.
For Advanced Features and Photo Enhancement:
- Photomyne: (Offers in-app purchases) Powerful app with color restoration, multi-photo scanning, and the ability to create albums and slideshows.
- Remini: (Offers in-app purchases) Specializes in enhancing old and blurry photos using AI, bringing faded details back to life.
For Archiving and Family History:
- FamilySearch Memories: (Free) Designed for preserving family history, with features for tagging people, adding stories, and connecting with relatives.
Tips for Using Photo Scanning Apps:
- Steady your hand: Hold your phone steady to avoid blurry scans.
- Good lighting: Ensure adequate lighting to capture accurate colors and details.
- Follow the app’s instructions: Each app has its own scanning process, so pay attention to the on-screen guides.
- Edit and enhance: Most apps offer basic editing tools to improve your scans.
Things to keep in mind:
- Image quality: While smartphone apps offer decent quality, they may not match the resolution of dedicated scanners.
- Limitations: Apps might struggle with faded or damaged photos.
- Storage: Digitized photos can take up space on your phone, so consider cloud storage or transferring them to your computer.
Photo Scanning Services: The Hands-Off Approach

Photo credit: Freepik
Don’t have the time, equipment, or inclination to digitize your photos yourself? No problem! Photo scanning services can take care of the entire process for you, from handling your precious originals to delivering high-quality digital images.
Why choose a photo scanning service?
- Convenience: Simply send in your photos and let the professionals handle the rest.
- Expertise: Services use high-quality scanners and techniques to ensure optimal results.
- Time-saving: Ideal for large collections or if you’re short on time.
- Preservation: Many services offer options for handling delicate photos and negatives.
Things to consider:
- Cost: Prices vary depending on the service, quantity of photos, and resolution.
- Turnaround time: It may take some time to receive your digitized photos.
- Research: Choose a reputable service with positive reviews and clear pricing.
Finding a Photo Scanning Service:
- Local photo labs: Many local photo labs offer digitization services.
- Online services: Search online for “photo scanning services” to find companies that specialize in this.
- Retailers: Some retailers like Costco and Walmart also offer photo scanning services.
Tips for choosing a service:
- Check for reviews: Look for reviews and testimonials from previous customers.
- Compare prices: Get quotes from multiple services to compare pricing and options.
- Ask about handling: Inquire about how they handle delicate photos and negatives.
- Understand the process: Ask about their scanning process, resolution options, and delivery methods.
All-in-One Printers: Hidden Scanning Power
Before you rush out to buy a separate scanner, check if you already have one hiding in plain sight! Many modern all-in-one printers come equipped with built-in scanners, offering a convenient way to digitize your photos.
Why use your printer for scanning?
- Cost-effective: If you already have an all-in-one printer, you can avoid the extra expense of a dedicated scanner.
- Space-saving: No need for another device cluttering your workspace.
- Integration: Scanning and printing functionalities are seamlessly integrated.
Getting Started:
- Check your printer’s capabilities: Look into your printer’s manual or manufacturer’s website to confirm its scanning capabilities and understand its functionalities.
- Connect your printer: Ensure your printer is properly connected to your computer, either via USB or wirelessly.
- Access the scanning software: Your printer should come with scanning software, either pre-installed or available for download from the manufacturer’s website.
- Follow the scanning instructions: The software will guide you through the scanning process, similar to using a dedicated scanner.
Tips for optimal results:
- Clean the scanner glass: Just like with a flatbed scanner, ensure the scanner glass is clean and free from dust or smudges.
- Use the document feeder (if available): For multiple photos, use the automatic document feeder (ADF) if your printer has one.
- Adjust settings: Explore the scanning software’s settings to adjust resolution, color mode, and other parameters.
Tips for Digitizing Your Photos

Photo credit: Freepik
No matter which method you choose, keep these tips in mind to ensure high-quality digital images:
- Resolution and File Format
- Handling Delicate Photos
- Cleaning and Preparation
- Cropping and Editing
- Organizing and Storing Your Digital Photos
Resolution and File Format: Choosing the Right Settings
When digitizing your photos, resolution and file format play a crucial role in preserving image quality and detail. Here’s a breakdown to help you make the right choices:
Resolution (DPI)
- What is DPI? DPI stands for “dots per inch” and refers to the number of dots that make up an image. Higher DPI means more dots, resulting in a higher resolution and more detailed image.
- Recommended DPI for photos: For most photos, scanning at 300 DPI is sufficient. This provides a good balance between image quality and file size. If you plan to enlarge your photos significantly, consider scanning at 600 DPI or higher.
- Balancing quality and file size: Higher DPI results in larger file sizes, which can take up more storage space. Choose a DPI that meets your needs without creating excessively large files.
File Format
- JPEG: A common and versatile format that offers good compression, resulting in smaller file sizes. Suitable for most purposes, including sharing online and printing.
- TIFF: A lossless format that preserves all image data, ideal for archival purposes and high-quality prints. However, TIFF files are generally larger than JPEGs.
- Other formats: PNG is another lossless format, while PDF can be used for documents with both text and images.
Choosing the right format:
- For everyday use and sharing: JPEG is a good choice.
- For archival purposes and high-quality prints: TIFF is recommended.
Handling Delicate Photos: Preserving Precious Memories
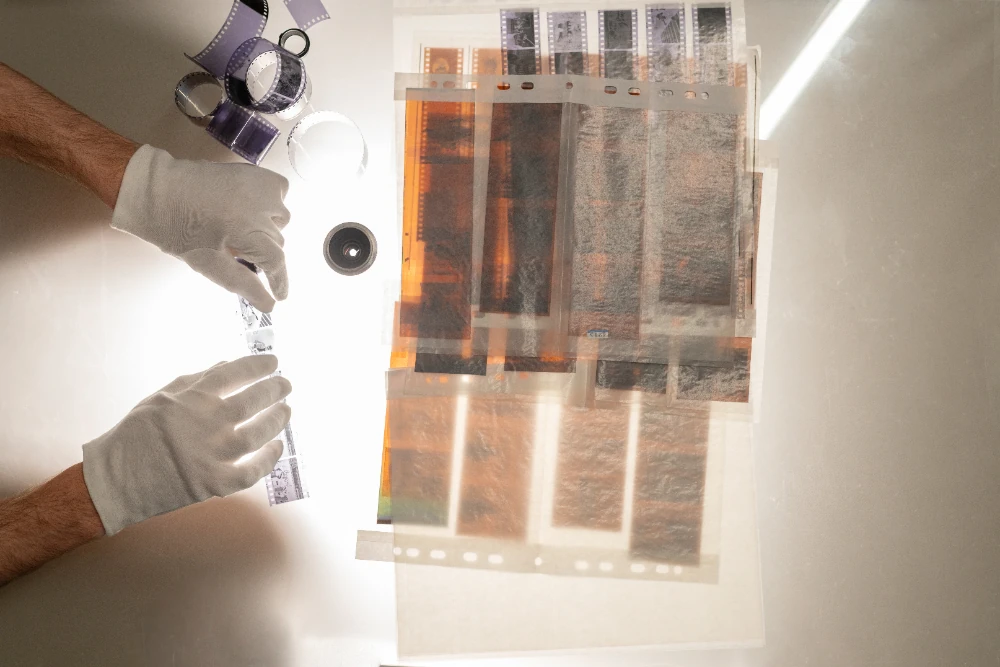
Photo credit: Freepik
Old photos can be fragile and prone to damage. Here’s how to handle them with care during the digitization process:
- Wear gloves: Cotton gloves prevent fingerprints and oils from transferring to your photos.
- Support fragile photos: If a photo is torn or brittle, support it with a piece of acid-free cardboard or a photo sleeve.
- Avoid excessive pressure: Don’t press down on the photo when placing it on the scanner or taking a picture with your phone.
- Clean with care: Use a soft, lint-free cloth or a photo-safe brush to gently remove dust or debris. Avoid using any cleaning solutions or water.
- Consider professional help: For extremely delicate or damaged photos, consider using a professional photo scanning service with experience in handling such items.
Dealing with negatives and slides:
- Handle with extra care: Negatives and slides are even more delicate than prints. Use specialized sleeves or holders to protect them from scratches and dust.
- Dedicated equipment: For best results, consider using a scanner with a dedicated transparency adapter for scanning negatives and slides. These adapters provide backlighting that helps capture the details from the film.
- Specialized apps: Some smartphone apps are designed specifically for capturing images from negatives and slides. These apps can invert the colors and adjust the exposure to create positive images.
Cleaning and Preparation: Getting Your Photos Scan-Ready
Before you start scanning, taking a few moments to clean and prepare your photos can significantly improve the quality of your digital images.
- Dust removal: Use a soft, lint-free cloth or a photo-safe brush to gently remove any dust or debris from your photos. Avoid using canned air, as it can propel moisture onto the photos.
- Clean the scanner glass: Ensure the scanner glass is clean and free from smudges or fingerprints. Use a microfiber cloth and a gentle cleaning solution (if necessary) to wipe the glass.
- Remove sticky residue: If your photos have any sticky residue from old albums or tape, carefully remove it using a photo-safe adhesive remover. Test the remover on a corner of the photo first to ensure it doesn’t damage the image.
- Flatten curled photos: If your photos are curled, try placing them between the pages of a heavy book for a few days to help flatten them.
- Arrange photos logically: Before you start scanning, organize your photos in a logical order. This will make it easier to manage and label your digital files later.
Cropping and Editing: Enhancing Your Digital Memories
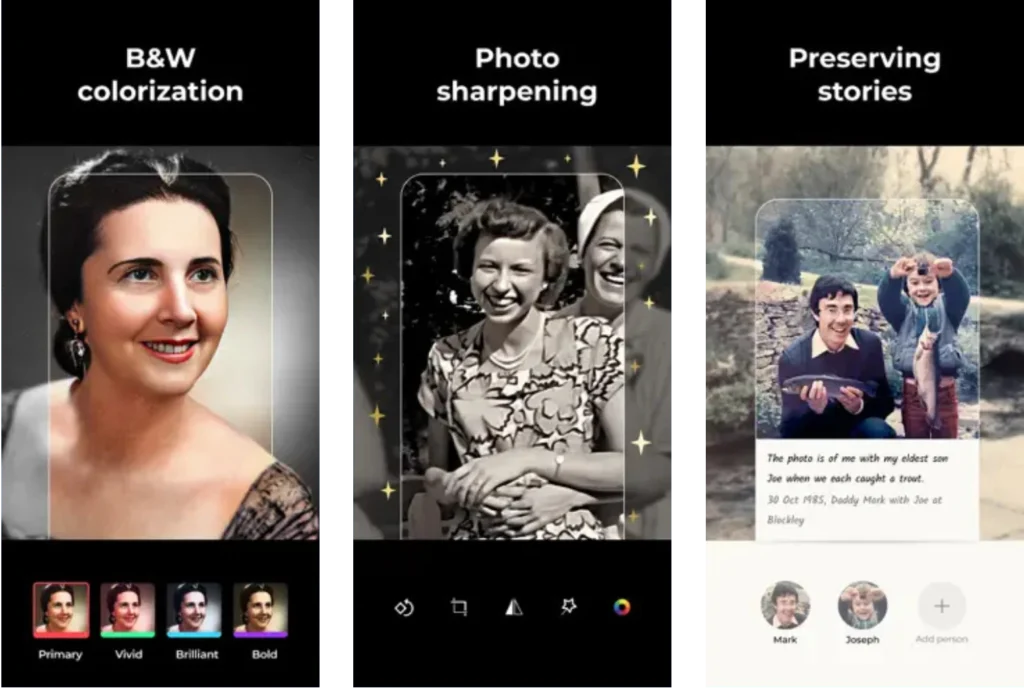
Once you’ve digitized your photos, you can use photo editing software to enhance them and make them even better than the originals! Here are some basic editing techniques:
Straightening and Perspective Correction: Photos might be slightly crooked or have distorted perspectives, especially if they were taken at an angle. Use straightening tools or perspective correction features to fix these issues. Some apps even have automatic perspective correction that can be quite helpful.
Color correction: Adjust the colors to restore faded hues or correct color casts.
- Correcting Color Casts: Many old photos suffer from color casts, making them look too yellow or blue. Use color balance tools to neutralize these casts and restore natural colors. You can often use the “auto” color correction feature as a starting point.
- Adjusting Faded Photos: Photos can fade over time, losing their vibrancy. Use tools like “levels” or “curves” to adjust the tonal range and bring back some of the lost contrast and color. Increasing the saturation slightly can also help revitalize faded colors.
Brightness and contrast: Fine-tune the brightness and contrast to improve the overall appearance. Increasing the contrast can make the photo appear sharper and more vibrant.
Sharpening: Sharpen the image to bring out details and improve clarity. Be careful not to over-sharpen, as this can create a grainy or artificial look.
Removing blemishes: Use tools like the spot healing brush or clone stamp to remove dust spots, scratches, or other imperfections. Zooming in on the image can make this process easier and more precise.
Removing Dust and Scratches: Old photos often have dust spots, scratches, or even tears. Spot healing tools or clone stamps can help you carefully remove these imperfections.
Recommended photo editing software
Free options:
- Google Photos: Offers basic editing tools and automatic enhancements.
- Apple Photos: Comes with Macs and iPhones and provides a range of editing features.
- GIMP: A free, open-source alternative to Adobe Photoshop.
Paid options:
- Adobe Photoshop: The industry standard for professional photo editing.
- Adobe Lightroom: Powerful software for organizing and editing photos.
A word of caution:
While editing can enhance your photos, be careful not to overdo it. Preserve the natural look and feel of the original images. Remember, the goal is to enhance, not alter, your memories.
Organizing and Storing Your Digital Photos: Keeping Your Memories Safe
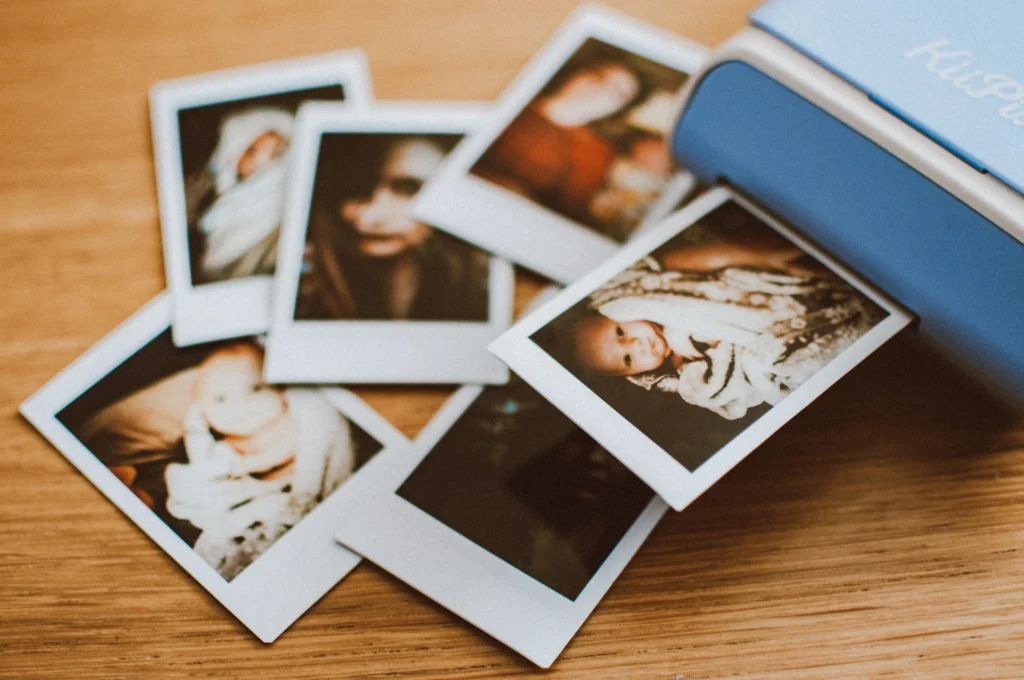
Congratulations! You’ve successfully digitized your old photos. Now, it’s essential to organize and store them properly to ensure they remain safe and accessible for years to come.
- File naming: Choose a consistent and descriptive file naming system. For example, you could use the date and a brief description (e.g., “1985-FamilyVacation-GrandCanyon.jpg”).
- Folder structure: Create folders to organize your photos by year, event, or theme. This will make it easier to find specific photos later.
- Backup, backup, backup! Don’t rely on a single storage location. Back up your photos to at least two different places, such as an external hard drive and a cloud storage service.
- Cloud storage: Cloud storage services like Google Photos, iCloud, or Dropbox offer convenient and secure storage with automatic backup.
- External hard drives: External hard drives provide a physical backup option. Choose a drive with sufficient capacity and consider keeping it in a separate location for added security.
Tips for long-term preservation:
- Use quality storage media: Choose reliable hard drives and archival-quality DVDs or Blu-ray discs for long-term storage.
- Check your backups regularly: Periodically check your backups to ensure they are working correctly and your photos are accessible.
- Update storage media: Technology changes rapidly. Migrate your photos to new storage media every few years to avoid data loss due to obsolete technology.
Remember to handle your photos with care, choose the right settings for digitization, and organize your digital files effectively. And most importantly, enjoy the journey of rediscovering those forgotten moments and sharing the stories behind them. After all, that’s what makes these photos truly special.
FAQs
What is the best way to digitize old photos?
The best method depends on your needs and budget.
- For a few photos: Smartphone apps are quick and convenient.
- For high quality and control: Flatbed scanners offer excellent results.
- For large collections or delicate photos: Consider a professional photo scanning service.
What is the best resolution to scan photos?
Scanning at 300 DPI is generally recommended for most photos. If you plan to enlarge your photos significantly, consider scanning at 600 DPI or higher.
Should I save my digitized photos as JPEG or TIFF?
JPEG: Good for everyday use, sharing, and online storage.
TIFF: Ideal for archival purposes, high-quality prints, and preserving maximum image data.
Can I digitize photos with my phone?
Yes! Several smartphone apps, like Google PhotoScan and Photomyne, allow you to digitize photos quickly and easily.
How do I digitize photo negatives?
Use a scanner with a transparency adapter or a specialized app for capturing images from negatives.
Can I improve the quality of old, faded photos?
Yes! Photo editing software allows you to adjust colors, remove blemishes, and enhance faded photos.
What are some tips for preserving my digital photos long-term?
Use quality storage media, check your backups regularly, and migrate your photos to new storage media every few years to avoid data loss.

